

A Practical Smart Kitchen Setup for Meal Prep
A useful kitchen setup connects a plan, an ingredient list, a cooking sequence and a place to store the finished food. Smart displays, voice assistants and connected appliances can support parts of that process, but the starting point is the workflow. Choose one recurring problem to solve before buying a device: forgetting ingredients, losing track of several timers or having no clear space to portion meals.
This is a planning guide, rather than a report of personal product use or measured time savings. A notebook, phone timer and well-organized counter can support the same basic sequence. The useful setup is the one you can repeat without spending the entire prep session managing apps and accessories.
Start With One Shared Meal Plan
Choose a place for the current plan that everyone cooking can find. That might be a printed sheet on the refrigerator, a shared note or a meal-planning tool. Record the meals, serving counts and days you expect to eat them. Check how many refrigerated days the plan covers and which portions need freezing. Avoid treating a seven-day plan as permission to keep every cooked meal in the refrigerator for a week.
Before making a shopping list, check the pantry and freezer. Keep ingredient quantities in a consistent form so the person shopping does not need to interpret several versions of the same item. If a recipe is doubled, update the ingredient amounts as well as the serving count. The printable templates and shopping-list tool provide different ways to organize that information.
Choose a Display Only If It Helps the Task
A phone or tablet can show a recipe, while a smart display may offer voice control for supported tasks. Before buying, check the exact app, recipe format and account requirements you expect to use. Do not assume a device can open every website cleanly, synchronize with every grocery app or operate another brand’s appliance. Features can differ by region and can change after software updates.
Place a screen where it can be read without blocking the cutting area, sink or stove. Keep electronics away from splashes, heat and raw-food contact. If using voice control, practice creating and canceling a named timer before relying on it during cooking. A hands-free command can be convenient, but you still need to verify that the device heard it correctly.
Use Named Timers and a Visible Sequence
Write the cooking order before starting. Longer oven dishes and grains usually begin before quick sauces or salad assembly. Group tasks that share an ingredient, while keeping raw meat preparation separate from ready-to-eat food. A short sequence on paper can be easier to follow than switching repeatedly between several recipe tabs.
Name timers for the task they track, such as rice, vegetables or chicken check. Treat a timer as a prompt to inspect food, not proof that it has cooked safely. Use a food thermometer where relevant and follow the appliance instructions. If a timer is interrupted or a recipe changes, update the plan rather than assuming the original cooking time still applies.
Match Appliances to Batch Size
An air fryer can handle a smaller portion or reheat a cooked meal while the oven handles a larger tray. It is useful only when its basket and required ventilation space fit the kitchen. A large advertised volume does not establish how much food can brown in one layer. Compare the air-fryer buying guide with the oven and pans you already own before adding another appliance.
A blender can help with sauces and smoothies, but check the smallest batch you will make as well as the largest. The blender guide explains jar size, controls and cleaning tradeoffs. A food scale can support repeatable portions without an app connection. The scale guide distinguishes capacity, displayed increments and nutrition estimates so you can choose around the actual job.
Make Room for Portioning and Cooling
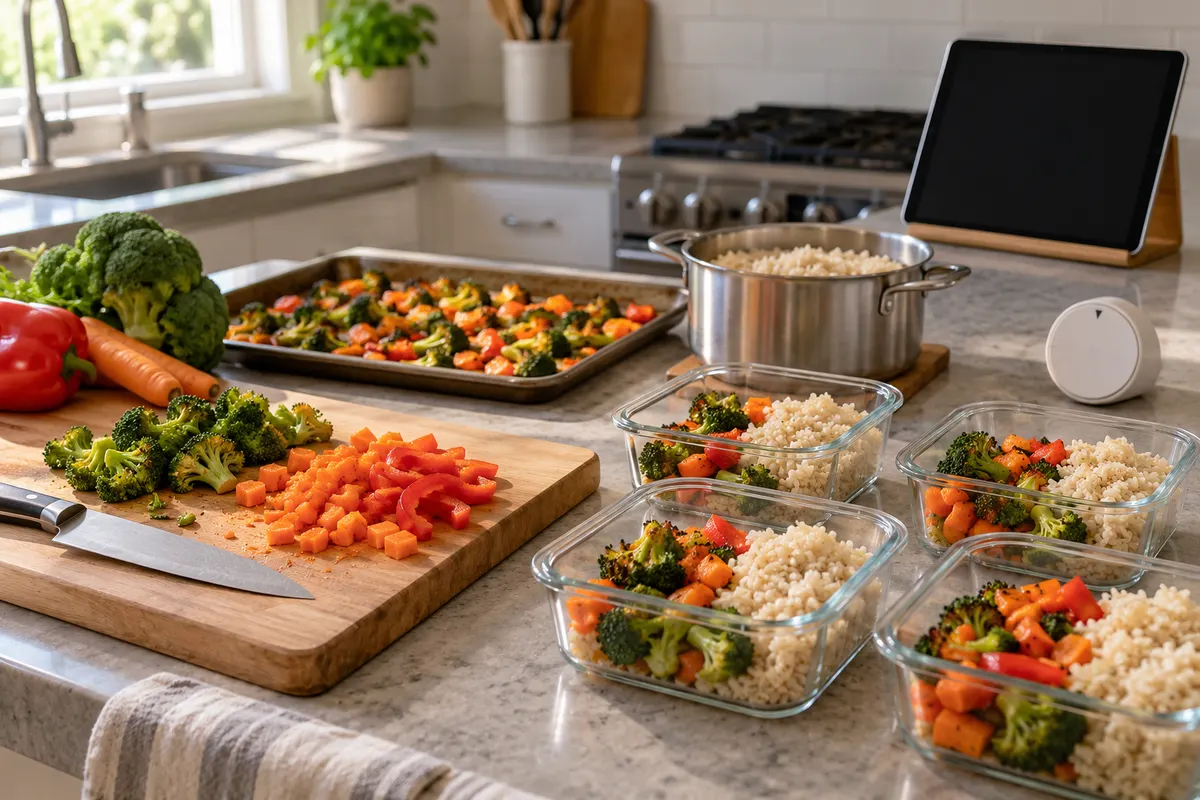
Set out clean containers before cooking finishes. Choose shallow containers that fit the portion and leave space to stir during reheating. Check the manufacturer’s instructions for the base and lid separately: glass does not automatically establish oven approval, and a lid may have different temperature restrictions. See the container comparison for useful questions to ask.
Refrigerate cooked food within two hours, or within one hour above 90°F. Keep the refrigerator at 40°F or below and use properly chilled cooked leftovers within three to four days. Freeze later portions promptly. Label the date and contents so the next person does not need to guess. The meal-prep storage guide covers cooling and reheating in more detail, with public food-safety references.
Review One Prep Session Before Expanding
After cooking, note where the workflow stalled. Did a recipe need a larger pan, did a bowl cover the scale display, or was the shopping list missing a quantity? Solve that specific issue first. More automation can add account management, charging, notifications and cleanup. Those costs are easier to judge after you have a real problem to compare them against.
Keep the parts that helped and remove unnecessary steps. A shared list, reliable timer and labeled containers may be enough. If you add a device, check its current instructions and keep a simple fallback for the task. A meal-prep routine should remain usable when a connection fails or someone else takes over the cooking.
Updated . Read the editorial policy or send a correction.